Our perfected resin driveway method
Preparation work, resin installation, curation
After almost 10 years of supplying resin driveways for homes and businesses, we recommend a method that has evolved organically. We have seen tests with many other approaches, but this one has proven to be the most successful so far. Starting with an initial consultation, then gathering materials, the installation process, and finishing touches. Please keep reading to view visual representations of the procedure.
Get A Free Quote
Contact Us
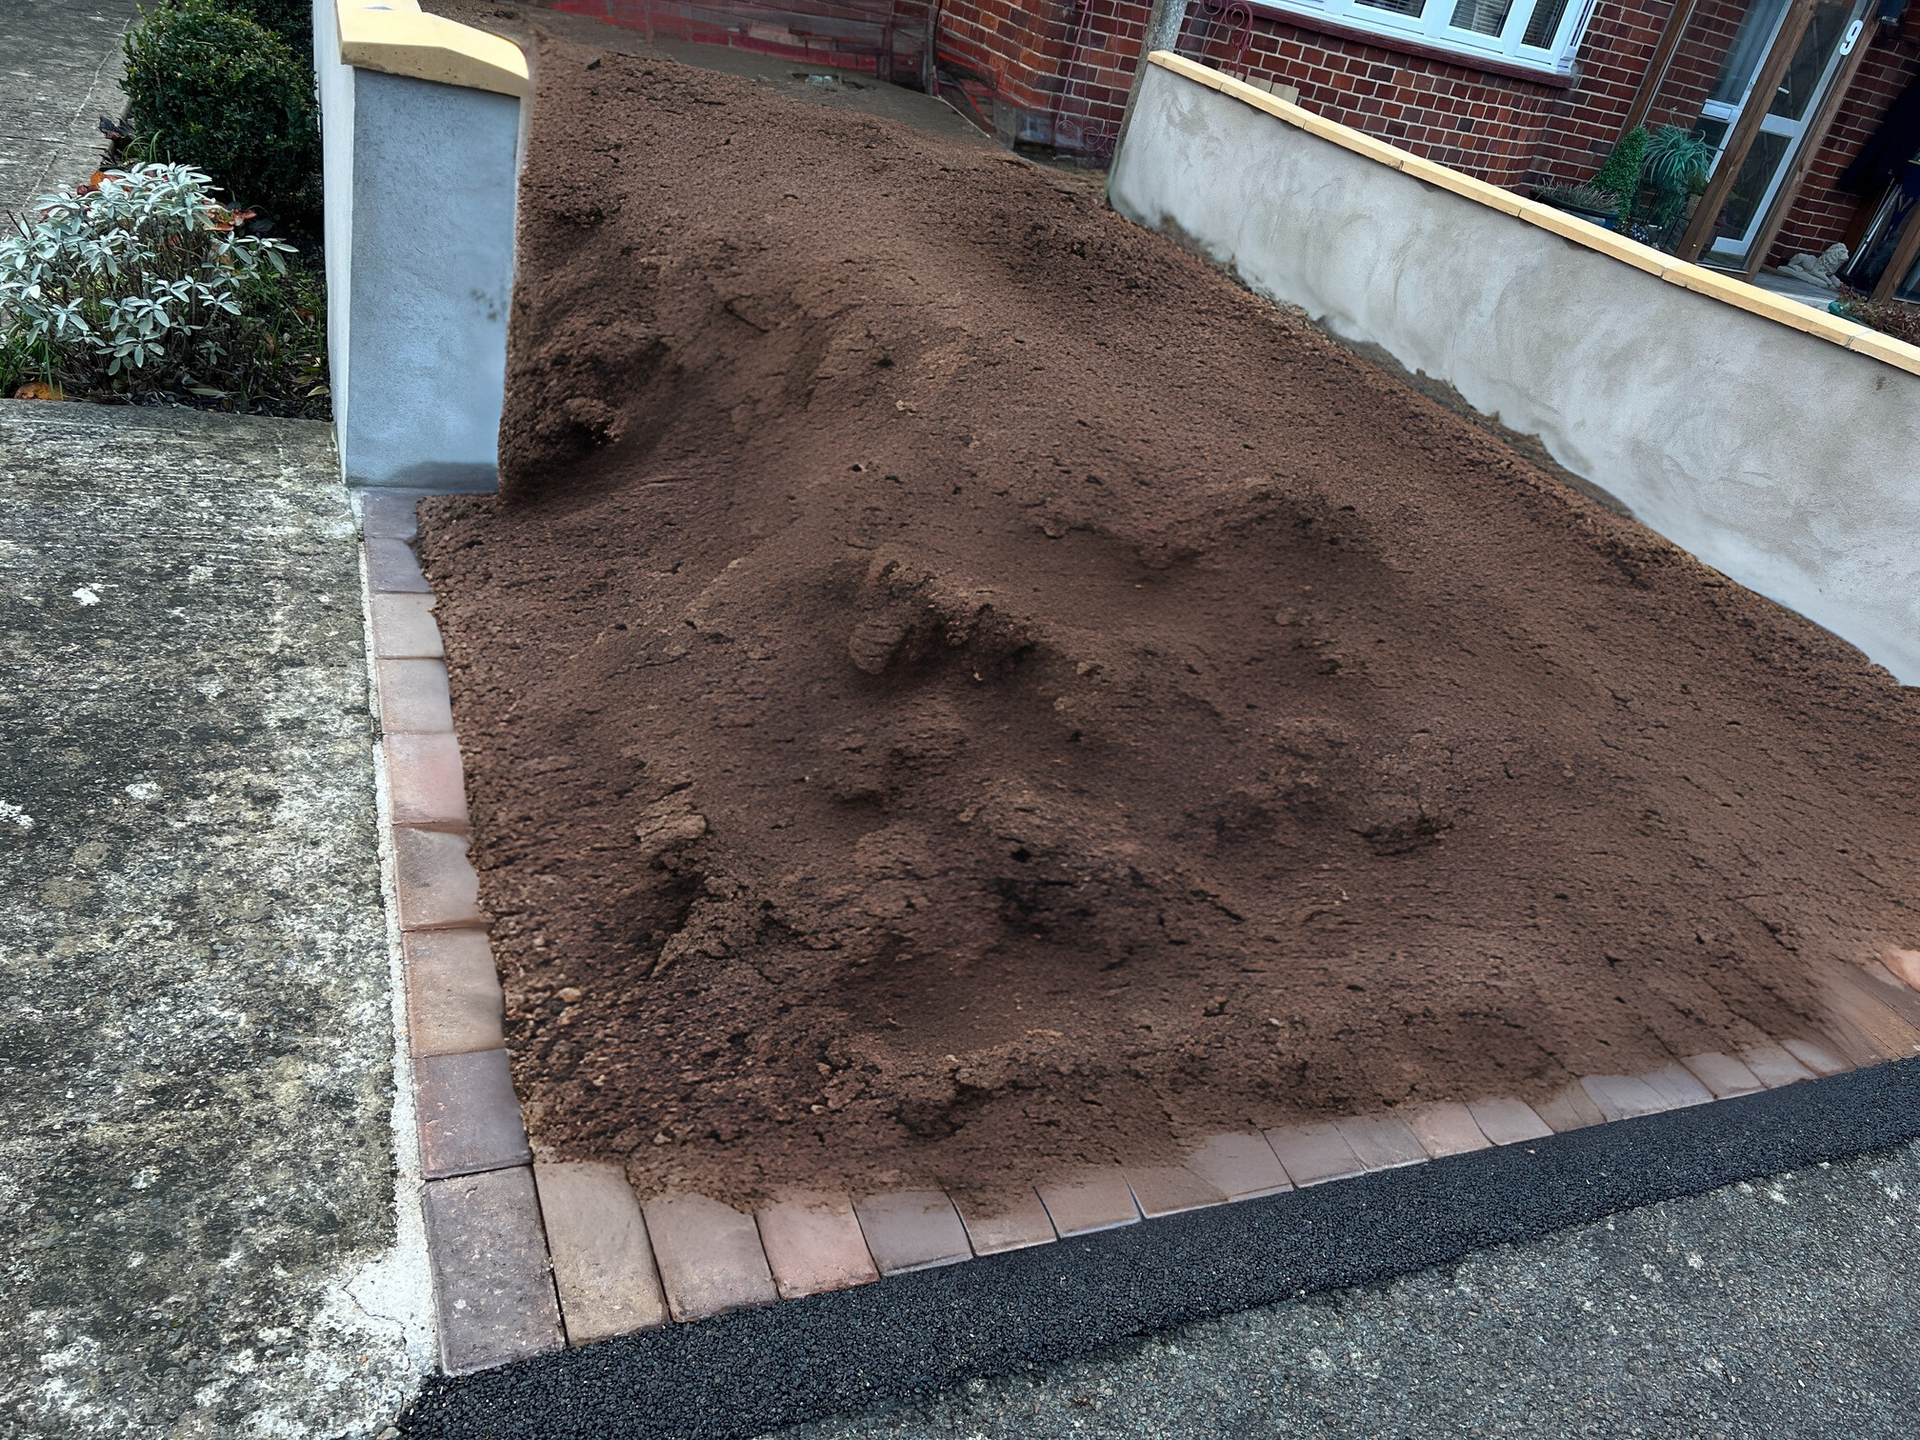
The Preparation Work
Depending on your driveway's condition, this step can vary. Long story short, if you have concrete or tarmac, and it's not cracked or damaged, it can be used as a base for the drive. However, if you have grass, block paving, or damaged concrete or tarmac, a digger must be used to put a new base in place.
To further represent our words, we are going to give you an example job that had both components: half of the driveway could be used as the base, the other half needed digging up.
In this case, the part that doesn't need digging up essentially costs half as much to install, because the other half requires excavation, waste removal, and a brand new base.
Friendly & Reliable
Get a Free, No-obligation Quote Today
Resin Bound Driveway Installation
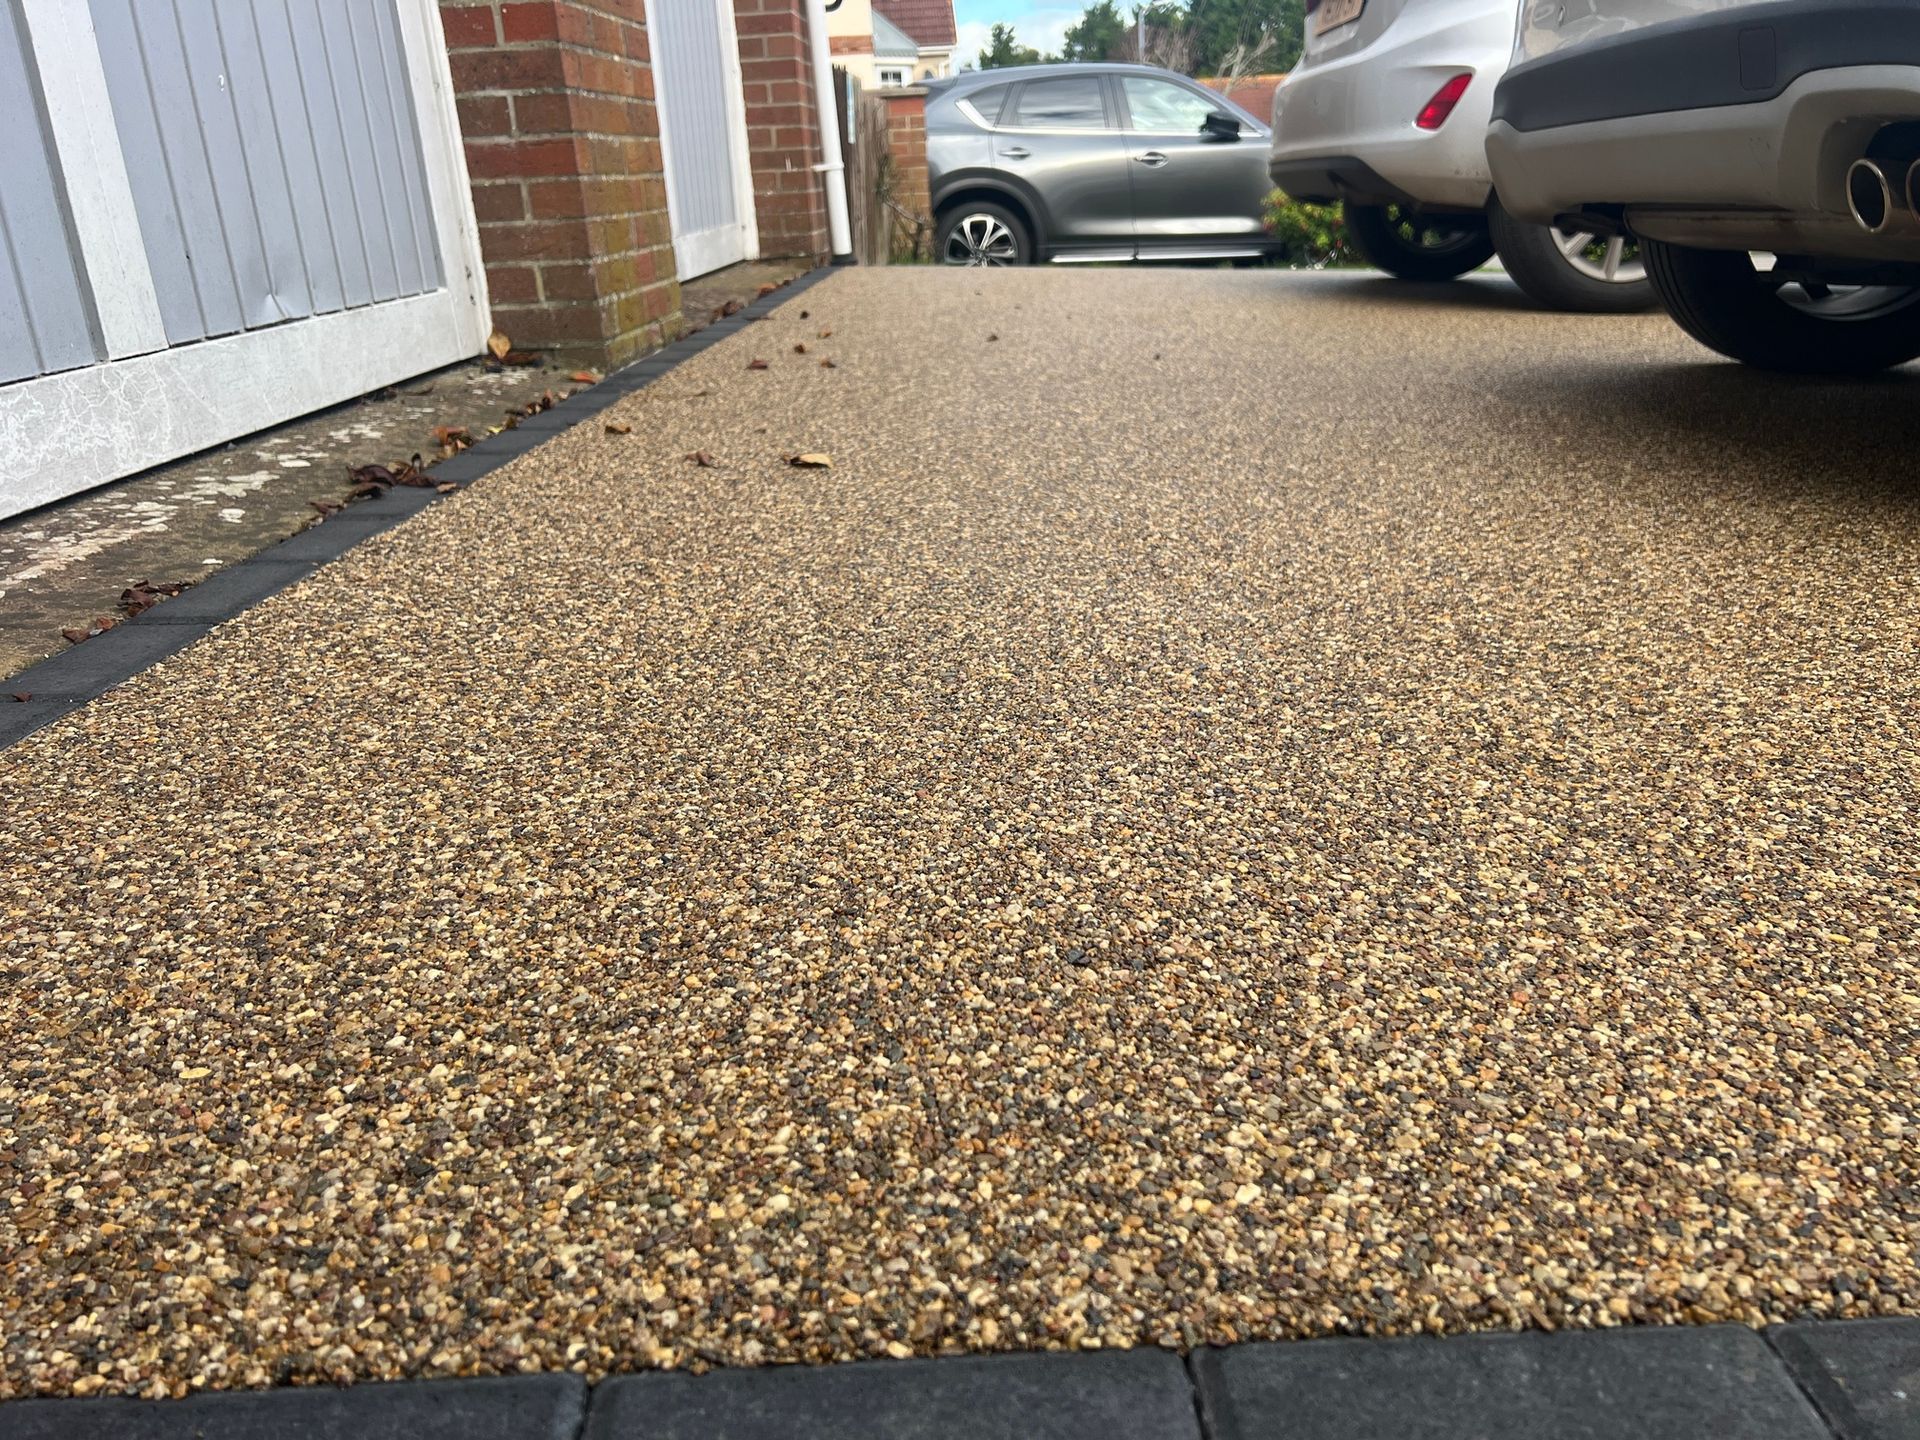
Now that a strong and long-lasting base has been created for a resin driveway, we can get to the interesting part. The resin can now be applied to the surface.
Admire some images to see the incredible transformation, from simple tarmac to resin.
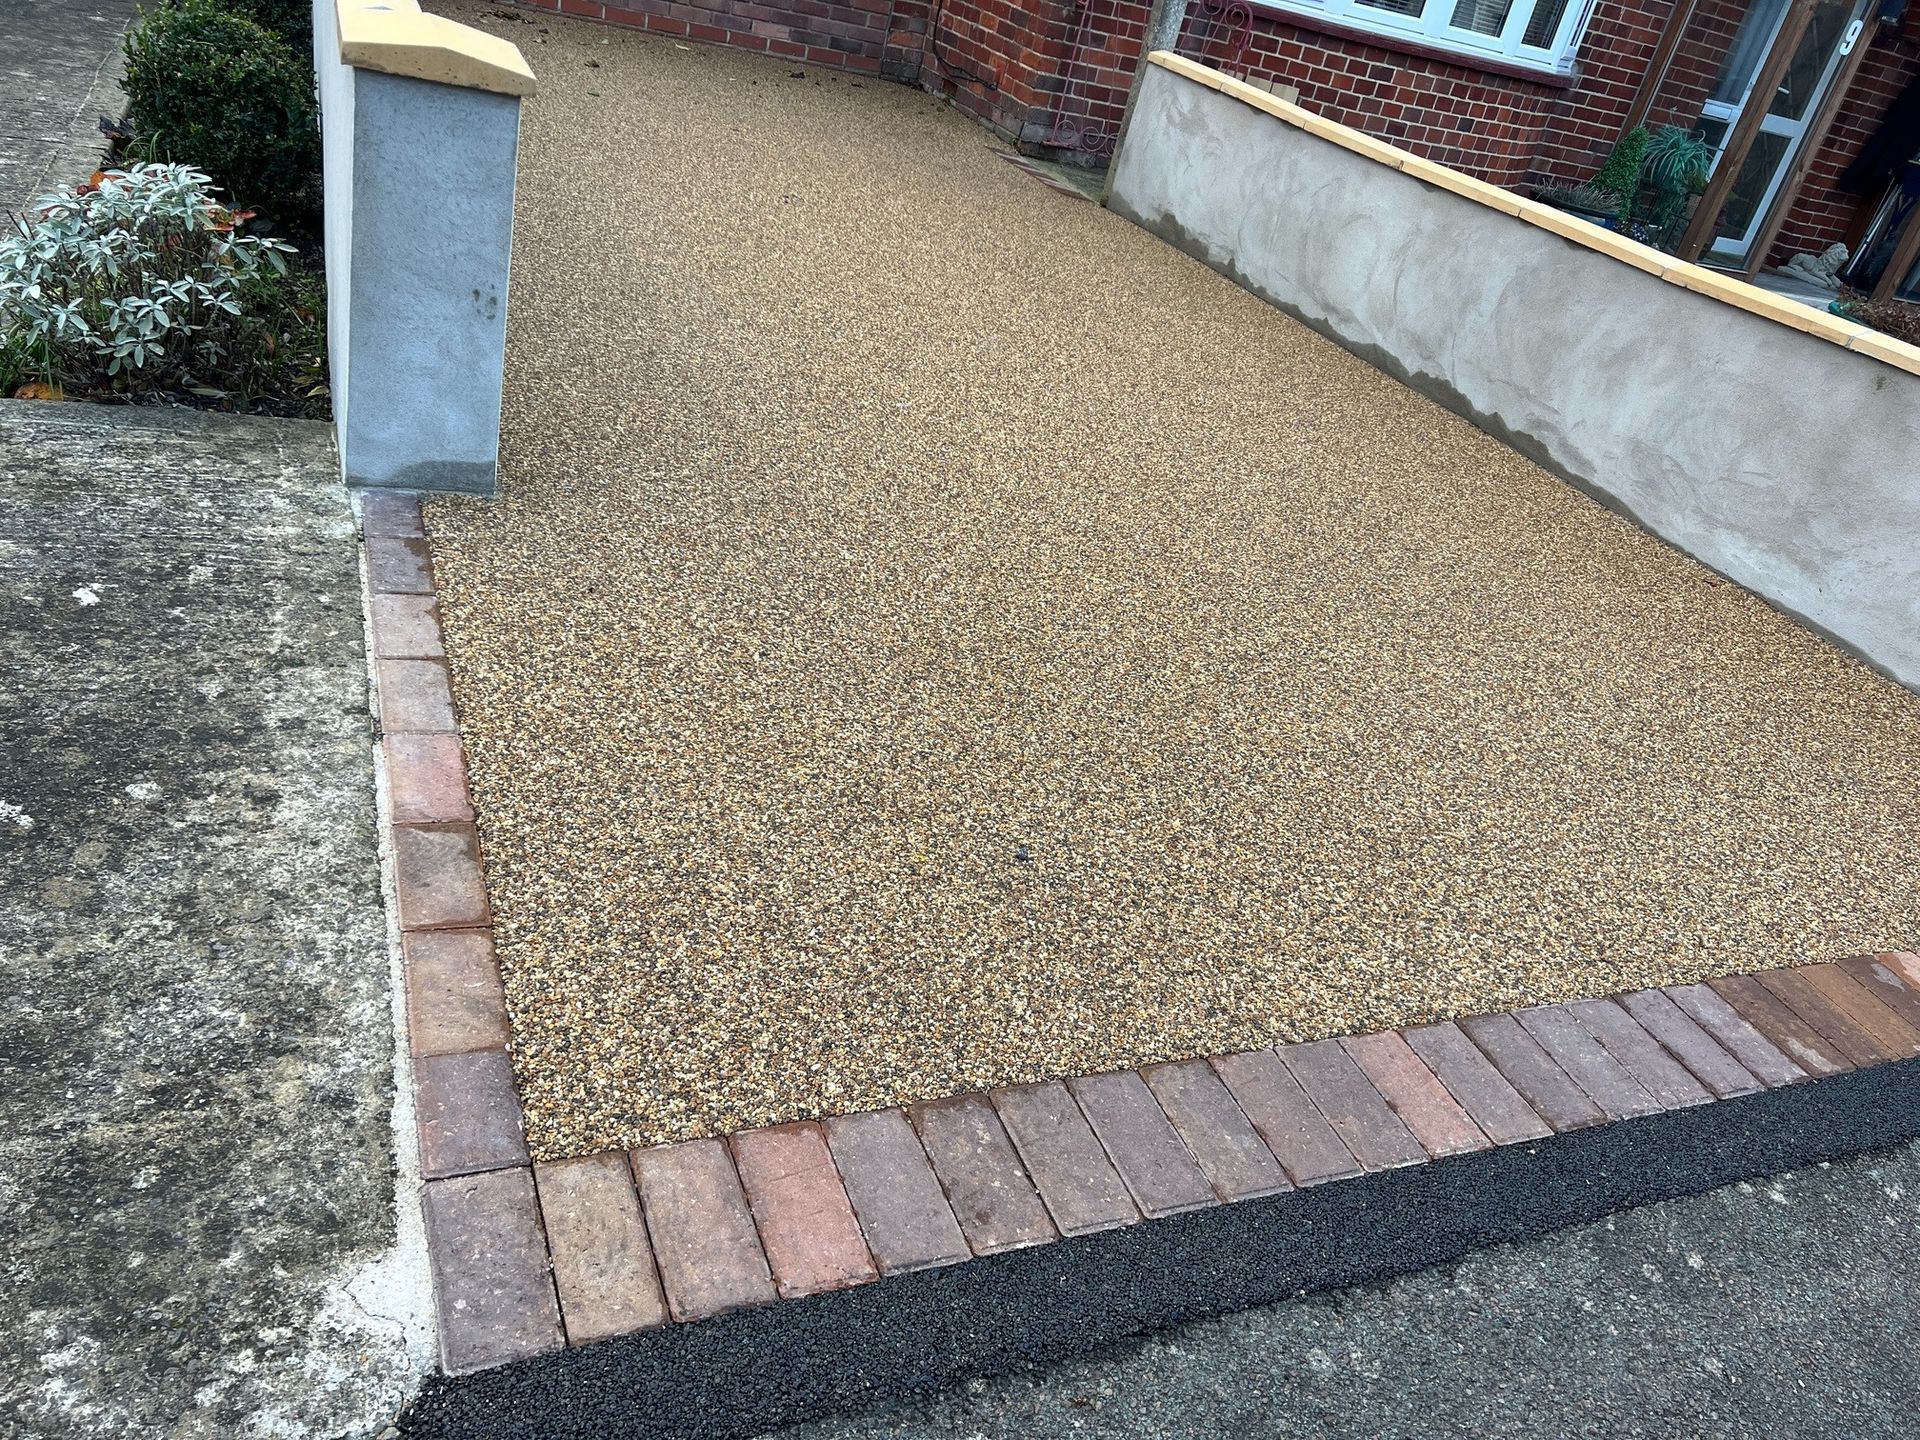
Curation Period
When the resin has been installed, it requires a certain amount of time before it can be used safely. We recommend 24 hours before walking on it, and 48 hours before driving on it.
Please admire a complete before and after transformation below.
Our YouTube video