A Step-by-Step Process For Installing Resin Driveways
How Are Resin Driveways Installed?
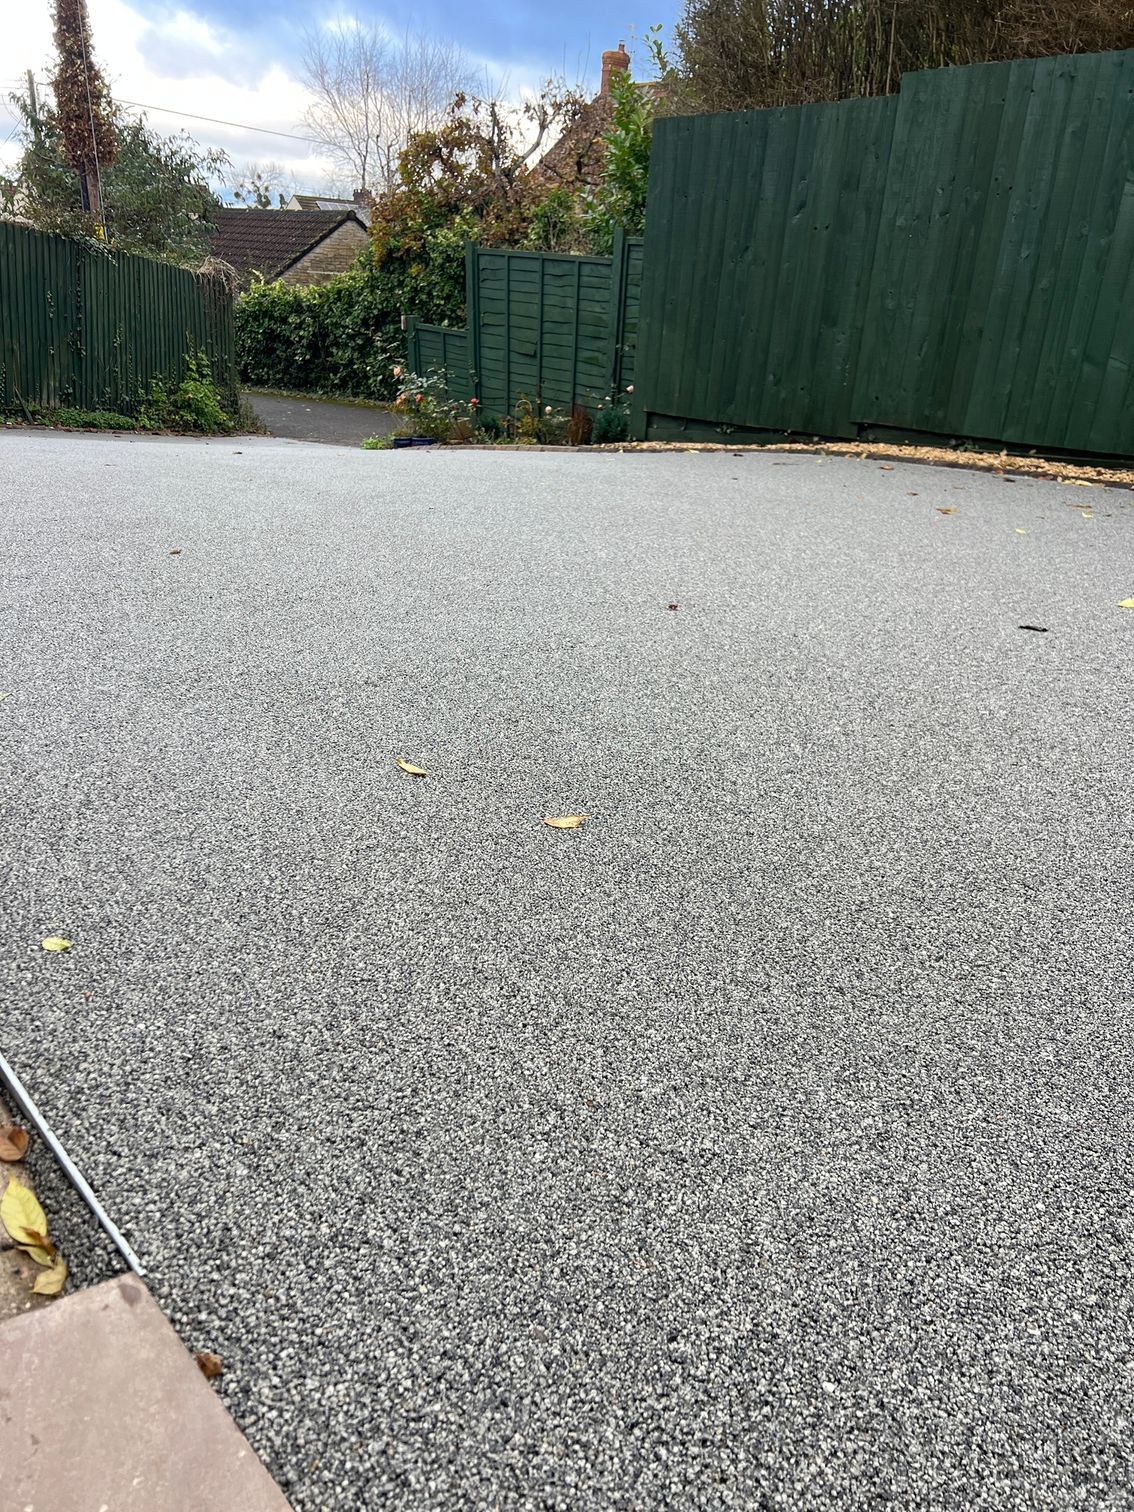
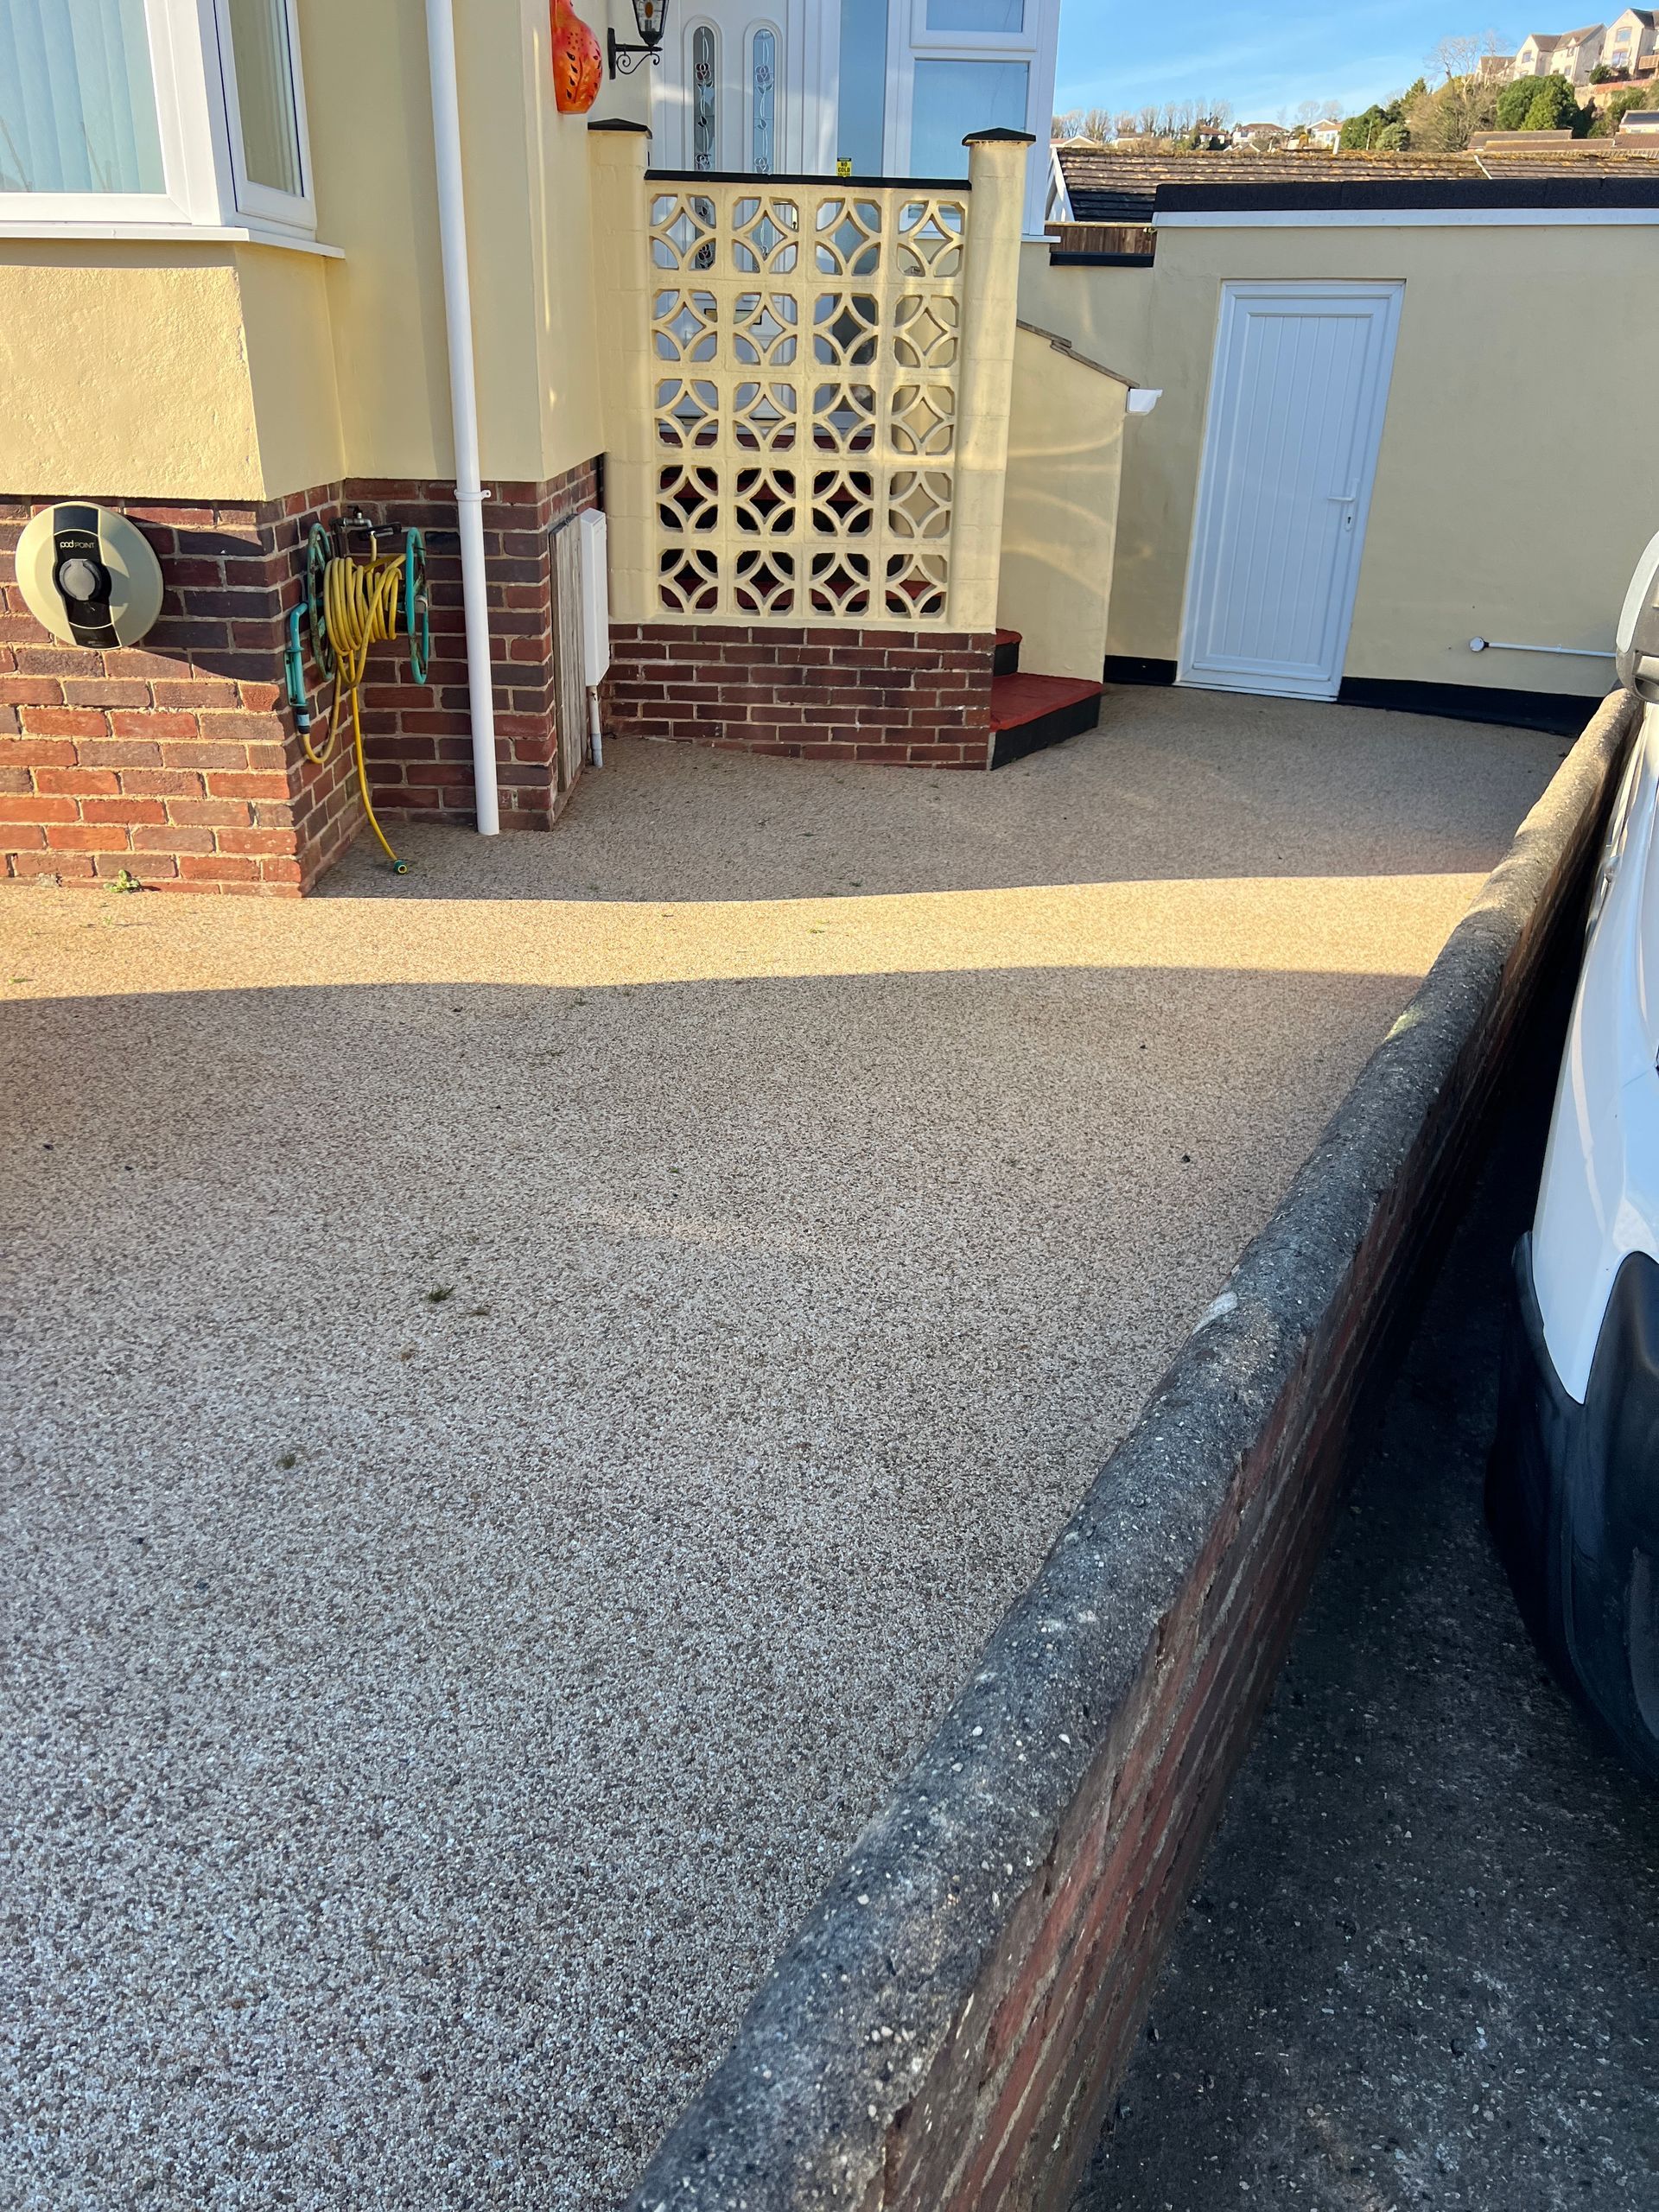
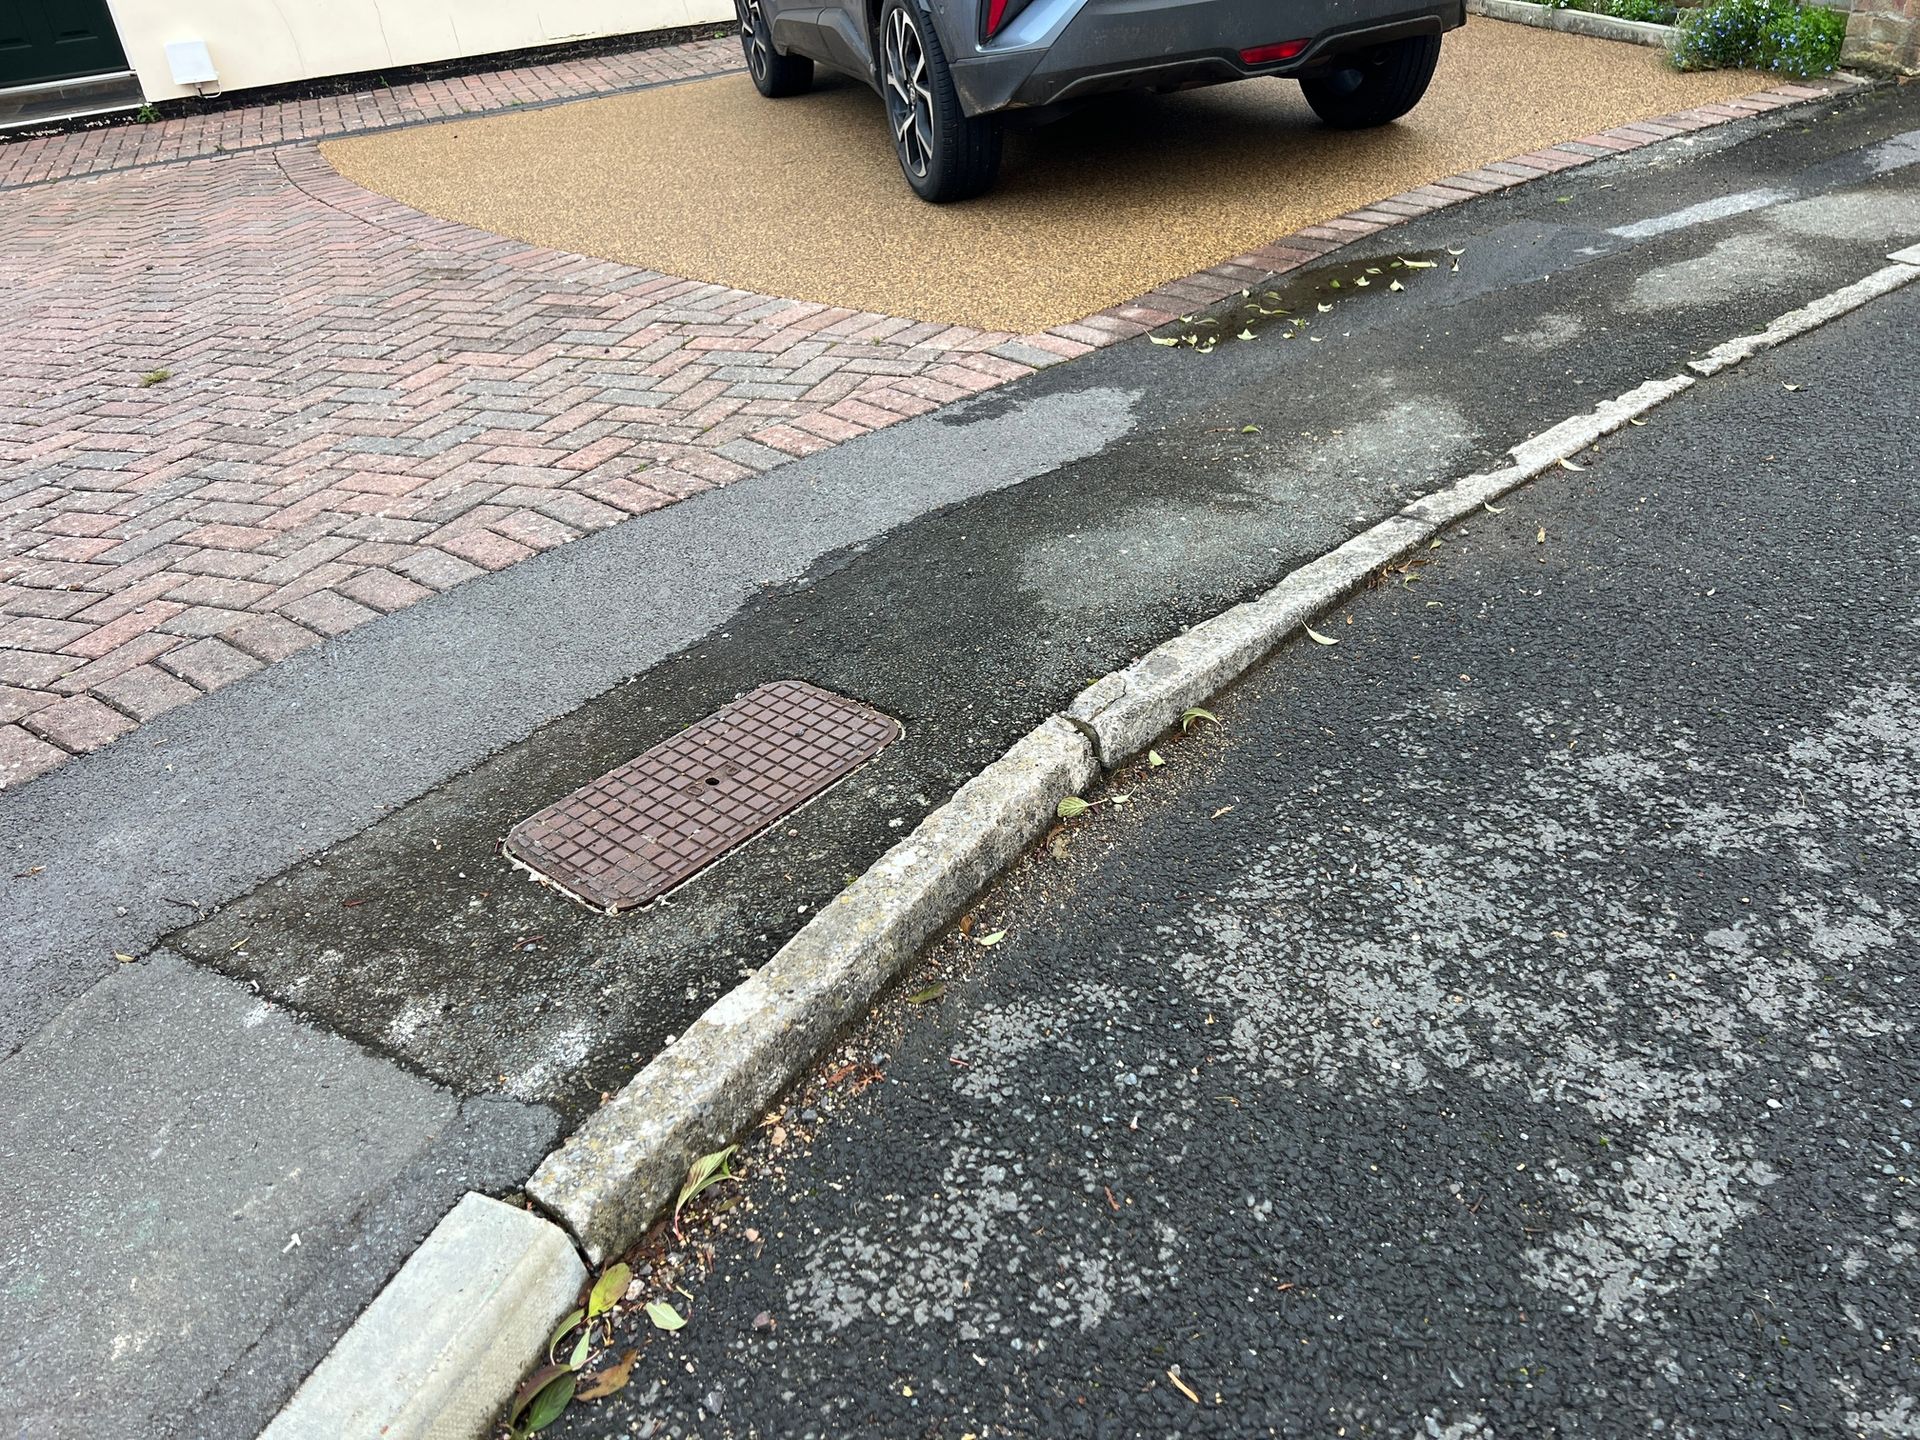
Are you thinking about installing a resin driveway? In recent years, resin drives have become super popular, and we're not surprised! With their incredible durability, low maintenance requirements, and visual appeal, they seem to be highly requested. If you are a builder, or you like some DIY to save money, here and there, here is a step-by-step guide to help an individual install a resin drive properly.
Please note that resin is a specialist product, and we would always recommend using a professional service, the tips in this article can be used to the consumer's risk.
Prepare The Surface
Before the installation begins, the surface must be properly prepared. To start, it's important to remove any existing driveway materials, unless you are doing an “overlay” (laying resin over tarmac or concrete, if the surface is in good enough condition). Prepare the surface until it is perfectly clean, spotless, and level. If cracks or potholes are in the existing drive, these must be repaired, to avoid damage to your resin drive in the future.
Edging Design
Step 2 is installing edging restraints to define borders within your driveway. You can choose from concrete, timber, metal, or block pavers for this part of the process. By creating a secure edge, you can avoid resin spreading further than the desired area.
Create Your Base
Any good driveway needs a good base, so you'll need to lay a sub-base. Typically, this consists of a compacted layer of crushed stone or hardcore, spread evenly across the surface, and compacted carefully. We would recommend a thickness of 100-150mm for the right stability.
Weed Prevention
To prevent any weeds growing through your driveway, allowing for a clean and maintenance free product, you must lay a weed control membrane over the sub-base. Thanks to this membrane, you will have a barrier which can prevent unwanted vegetation from growing through.
Mix The Resin
Once the preparation steps are completed, the resin can be mixed together. It's best to follow the manufacturer's installation instructions. The mixing process may vary depending on the specific product. Usually, resin driveways have two components: the resin and the aggregate. By mixing these two together, in a suitable container, you can create a consistent blend.
Apply The Resin
Apply the mixed resin onto the prepared surface by working in small sections to guarantee a smooth and seamless finish. Make sure to spread the mix evenly, at about 15-20 mm in thickness. Be extra careful with regard to resin pooling in certain areas, as it could result in an uneven surface.
Touching Up
Once the mixture is in position, gently press it into the resin using a
roller or
shovel. This will
strengthen the link and aid in
embedding the aggregate. Pay close attention to any places that might need extra
aggregate to produce a
uniform appearance.
Let The Resin Cure
Give the resin driveway the suggested amount of time to
cure—typically between
24 and 48 hours. During this period, make sure the driveway is
shielded from people and
vehicles as well as
bad weather.
Last, But Not Least
Sweep the surface to remove any extra
loose aggregate when the resin has fully dried. A
leaf blower can also be used for this. Finally, to bring out the driveway's full
splendour,
clean it with water and a
gentle detergent.
Installing a resin driveway is a satisfying undertaking that enhances the practicality and value of your house. These step-by-step instructions will help you produce a professional-looking driveway that will last for many years with no upkeep.
For any
professional assistance, please click “Call Now”.
You might also like
Resin Driveways For Life